- Assault Direct
- The most successful strategy I’ve seen implemented after hundreds of warlords games is marching straight to the base of the opponent, not taking any time to capture any areas that aren’t on the straightest possible line. This requires the team to forgo air power until reaching the middle of the map and as a result, the whole team stays engaged on forward progress and doesn’t waste early Command Points on air power (that doesn’t really return its investment in CP or capping speed). My experience is that this strategy pushes the meeting point of two teams is closer to the base of the opponent who was probably not taking a direct route. The best way to implement this strategy is to play with friends from the start of the game and get everyone onboard from the first sector selection. Sometimes this falls apart as other players join.
- Assault Delayed
- Both BLUEFOR and OPFOR have what I consider a “standard” set of towns taken at the start before proceeding to the enemy. This strategy works well assuming your team will go faster than the other team to the middle of the map. For OPFOR, take Nadios Base and then seeing counterclockwise up to Molos Airfield. For BLUFOR, take 3 towns up the West coast and then post along the southern coast to AAC Airfield. The team that can push forward on the first player on player meeting point is typically the winner of the game and that is typically based on momentum.
- Back Capping
- It is common to take time to fight AI after reaching a common front against the other team. This strategy is based on two aspects 1) it is harder to push a closely matched enemy back than it is to kill AI and, 2) having more CP generation than the enemy will win the day. Sometimes these are not the case (typically BLUFOR needs more CP than OPFOR to win).
- OPFOR Specific Notes
- Nadios Base Advantage: Launch Red to a better economy by taking Nadios Base first, then circling counterclockwise starting with Ionianna. With this strategy you can clear three towns worth of armor very quickly from the hill of the base. Then use static GMG launchers to take out the GREENFOR soldiers. Once GREENFOR is almost eliminated all players rush the sector in a coordinated way to capture to receive the CP bonus of being in-sector when it is captured. Be sure to take AT from any dead soldiers in preparation for Paros, Molos, etc.
- Molos Airfield Disadvantage: When taking the sector there are generally 3 or 4 armed vehicles that need to be taken out. I’ve seen times when this one sector wasted 45 minutes and lots of CP. Due to the geography of the sector armor can take you out from just about anywhere. It’s best to take this sector when 3 or 4 players have AT with two missiles. You can collect AT off bodies from other sectors, call in launchers boxes, or AT guys, just be prepared.
- Molos Airfield Rapid Capture: the best way to speed up talking this sector is to remove the armor immediately. Due to the area geography and roads it is possible to achieve an elevated position on the north side of the sector before selecting it which causes the AI to spawn in. Use the road on the southeast corner of the green zone and a sufficiently fast vehicle to drive through the corner of the green zone before being killed for trespassing. I prefer to get a Qwilin and 4 AT guys, drive them up there, place them on the hill in combat/crouch/watch Southwest, and set 3 of them to Hold Fire. Once GREENFOR spawns in the sector it will be 30-60 seconds before your AI detect the armor and can fire on them. Once an AT guy fires (two missiles will go to the same vehicle), set the next AT guy to Open Fire and the previous guy to go prone. Be sure to park the Qwilin out of sight from the sector so it doesn’t get taken out by GREENFOR AT. When using this strategy I like to gear up as a sniper and immediately work to take out AT GREENFOR so that vehicles from my team can move in. Safety Tip: Many players have never seen this strategy and will fire on your team on the hill either whole clearing the sector it when your decide to move your team down the hill after capping. Be clear on the map and on voice chat about what is going on to prevent this.
- BLUFOR Specific Notes
- The Southern Route To Airpower is extremely effective. My preferred path is hard to achieve as new players join the server. I prefer to go straight to airfield along the southern coast then capture Lakka, Lakka Factory, Airfield Compound, and just keep back capping in that area until the team or red team want to push each other. This gives extensive control of the middle of the map quickly. As a bonus, if OPFOR chooses to take Telos BLUFOR can stall it from under them by waiting until almost all the AI are gone and attacking. When the team controls this part of the map, it is possible, it just takes planning ahead of time with the team.
- Neochori Static Defense: There is a special location to place a static automatic HMG/GMG. Place it under the pier near the edge of the zone for a very difficult to remove position. It cannot be bombed or shot from the surface. Typically the opposing team will simply leave a vehicle in the town to take/hold the sector rather than try to remove it. Credit: Shandy
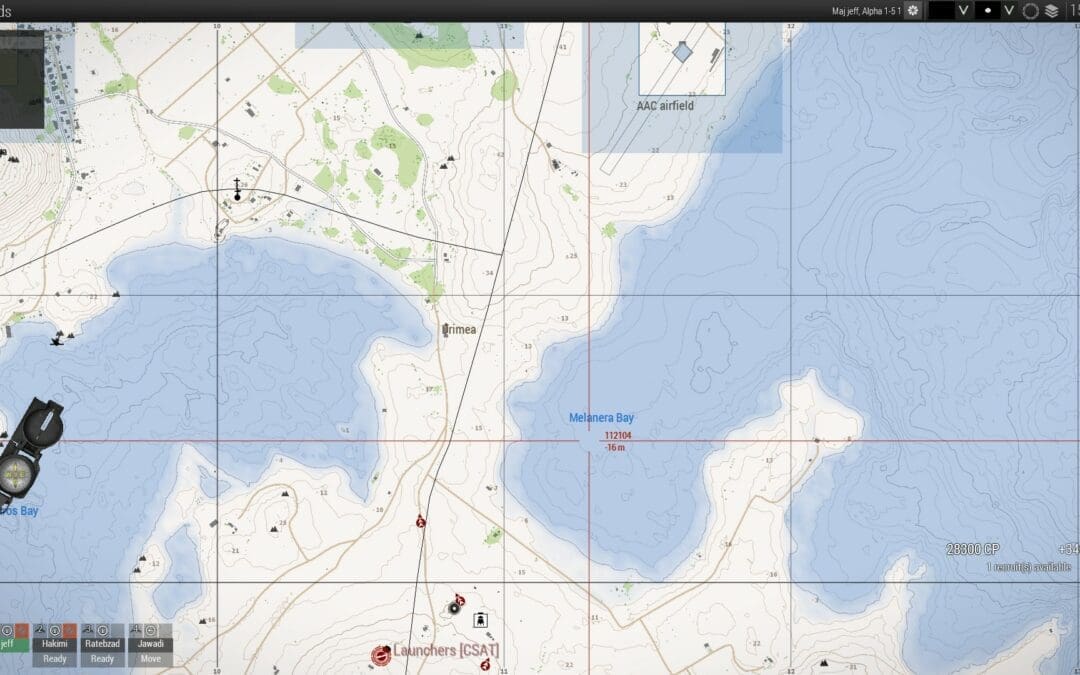
- Telos
- I love taking Telos but only when the enemy is far enough away that they cannot attack it right as my team is finishing (and thus they don’t have to attack a full set of GREENFOR). It gives great CP. It’s defendable with an indestructible building. And, it provides a secondary route to the enemy once the map gets to stalemate in the area.
- The field on the southeast of Telos is an obstacle that is best dealt with from a distance. There are hills to the southeast where GMG/HMG/snipers can take out GREENFOR while staying out of AT range. There is also a good sniper position on the hill to the south shooting North into the field.